"Expense Claim" Help Article.
By Sonali Narkar on March 3, 2022
Beginner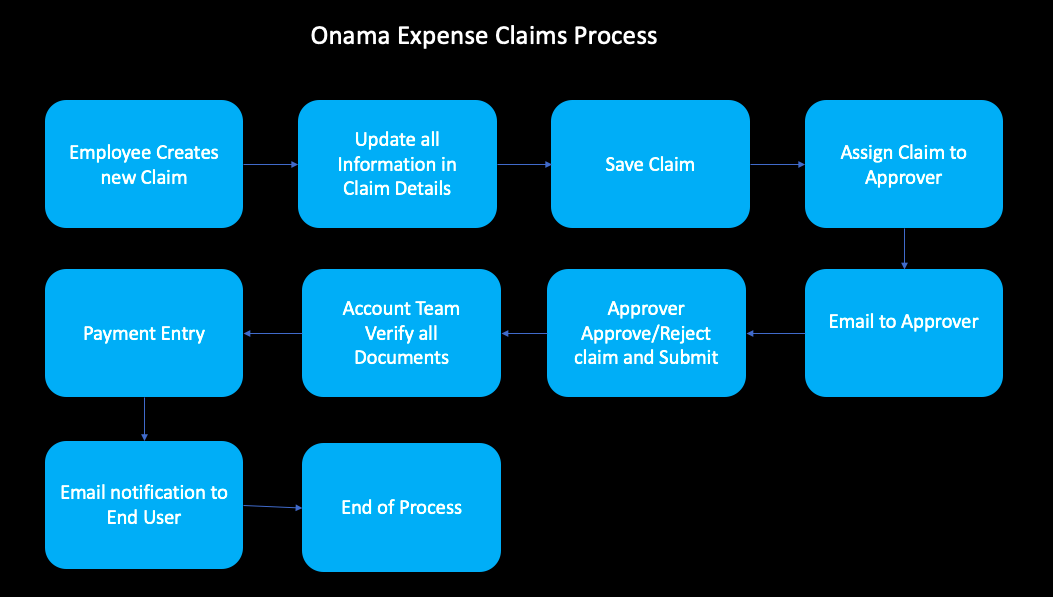
Login to System ;
URL : https://onama.vedarthsolutions.com/app
ID : Company mail ID
Password : <your first name@321>
(Claim Approver : Sonali Narkar & Employee: Pooja Nagras)
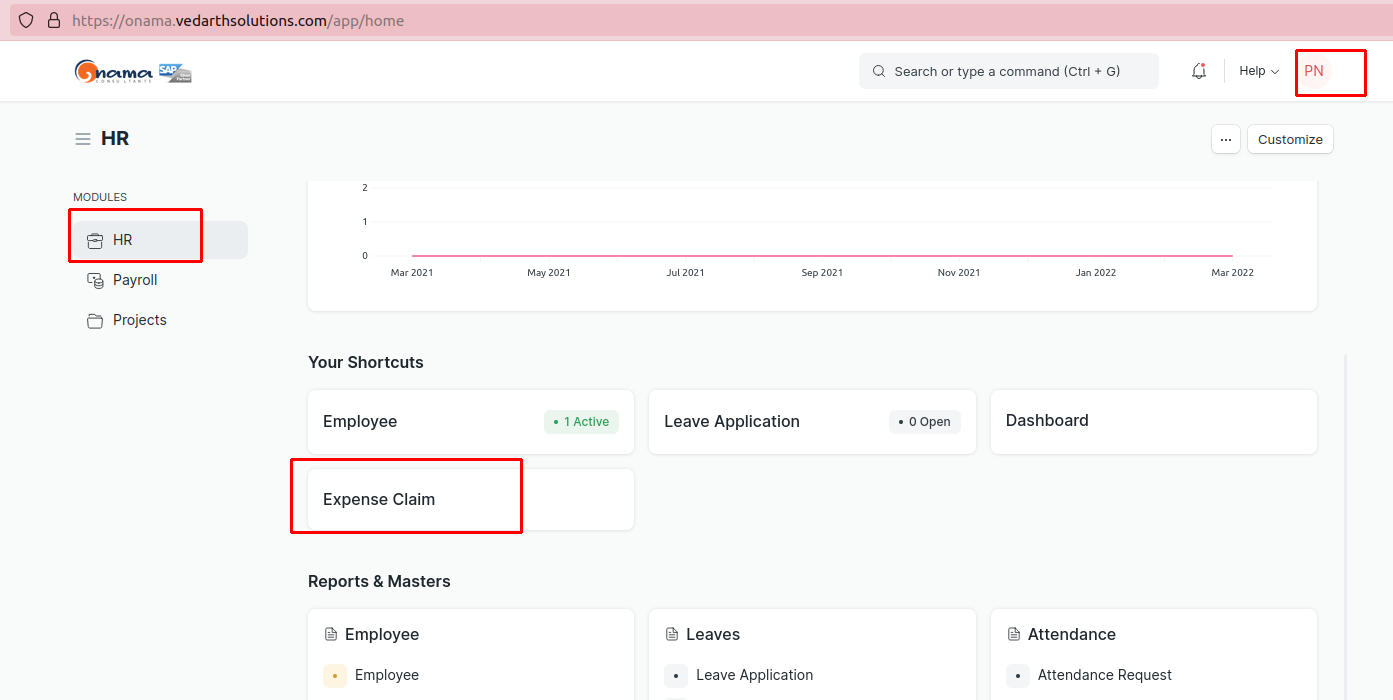
Go to "Expense Claim"
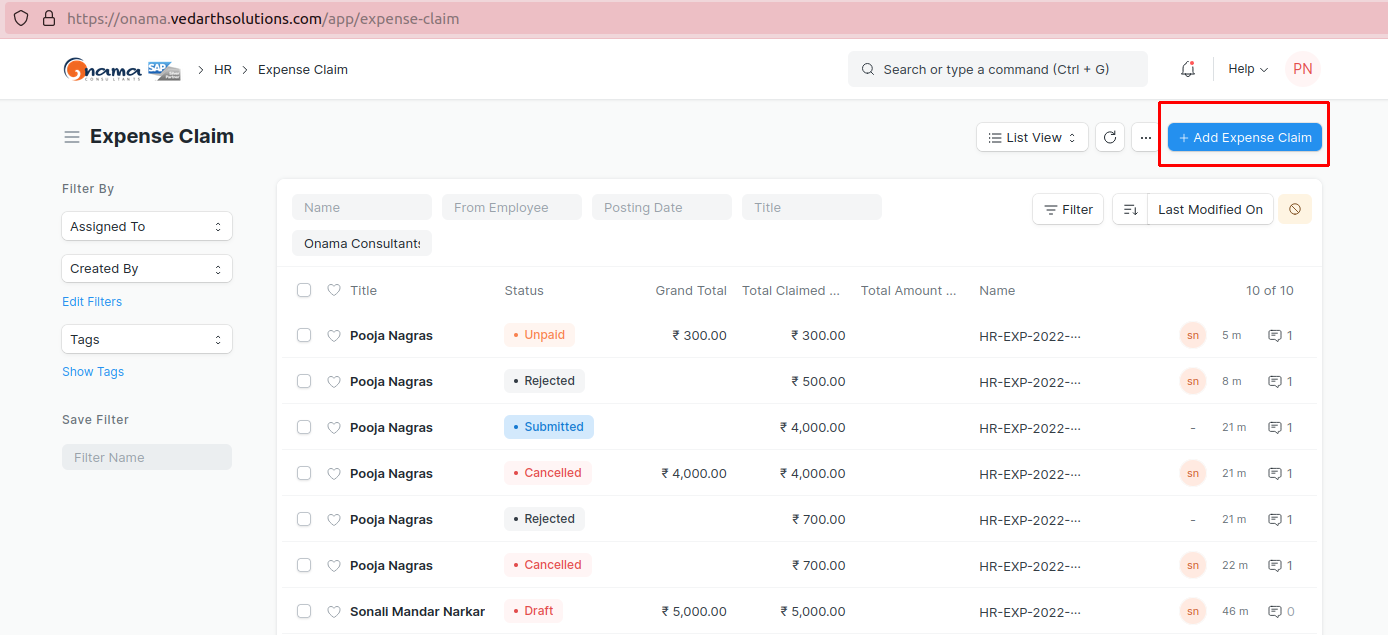
Add new "Expence Claim"
Select "Expense Approver"
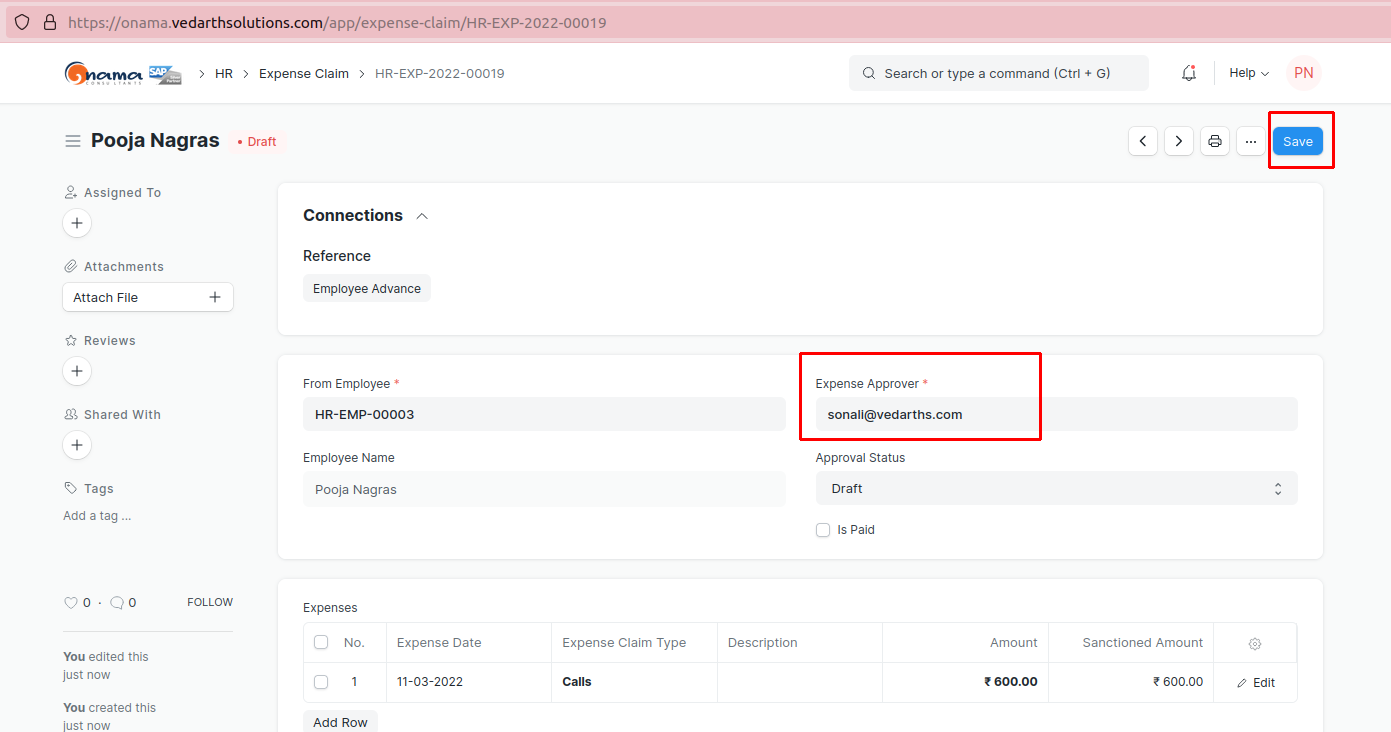
Add your Expenses in "Expense table"
Enter the Expense Date, Expense Claim Type and Amount
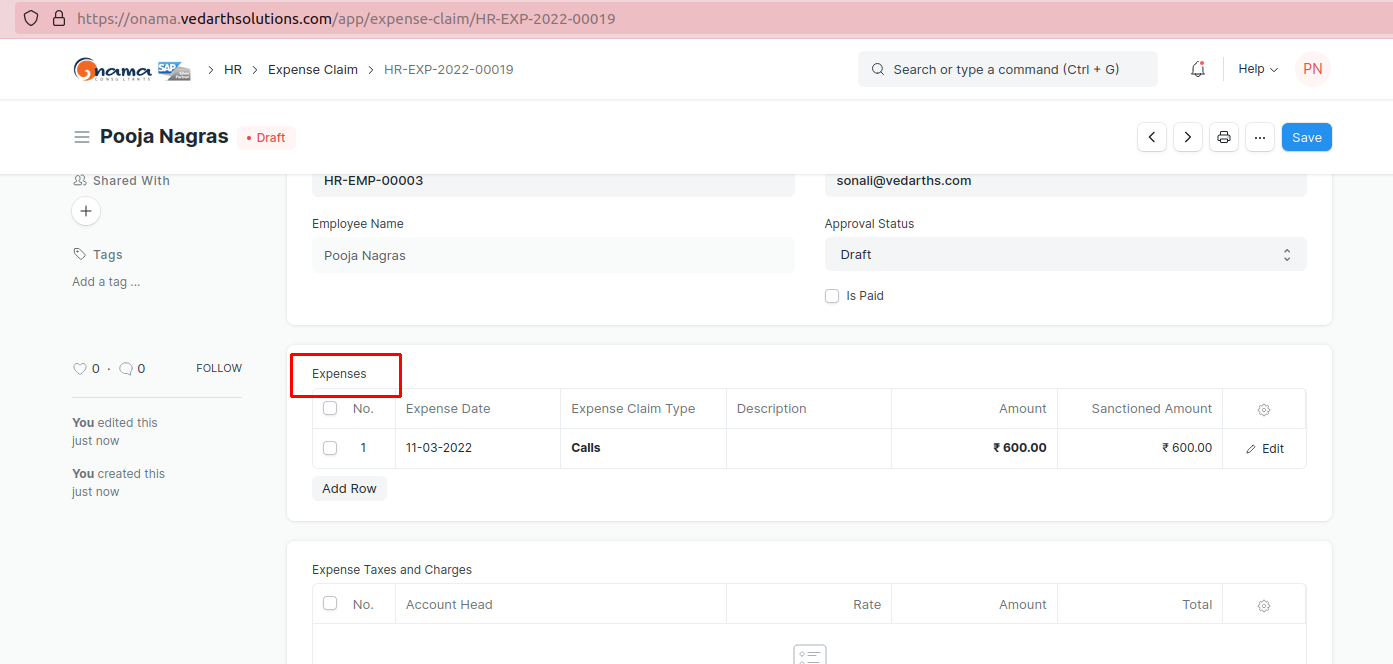
After saving Expense Claim, Employee should Assign document to Approver. On assignment, approving user will also receive email notification.
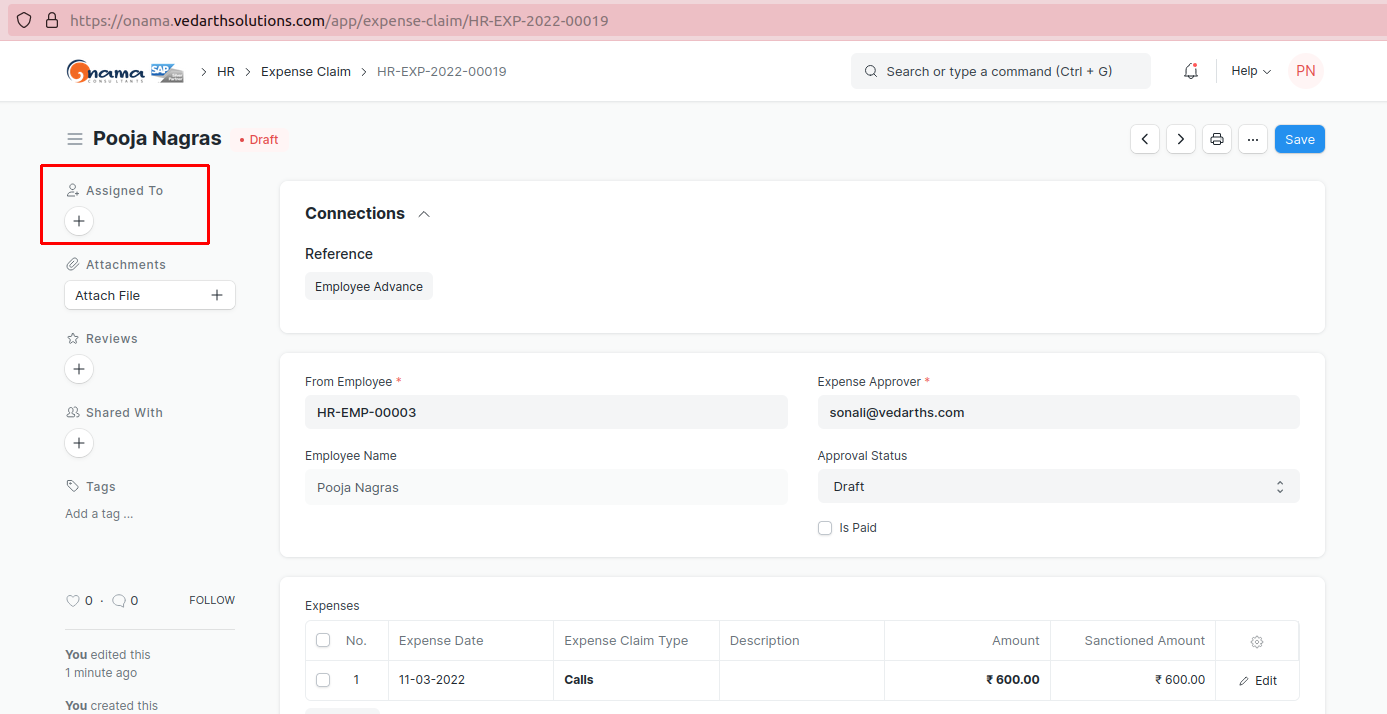
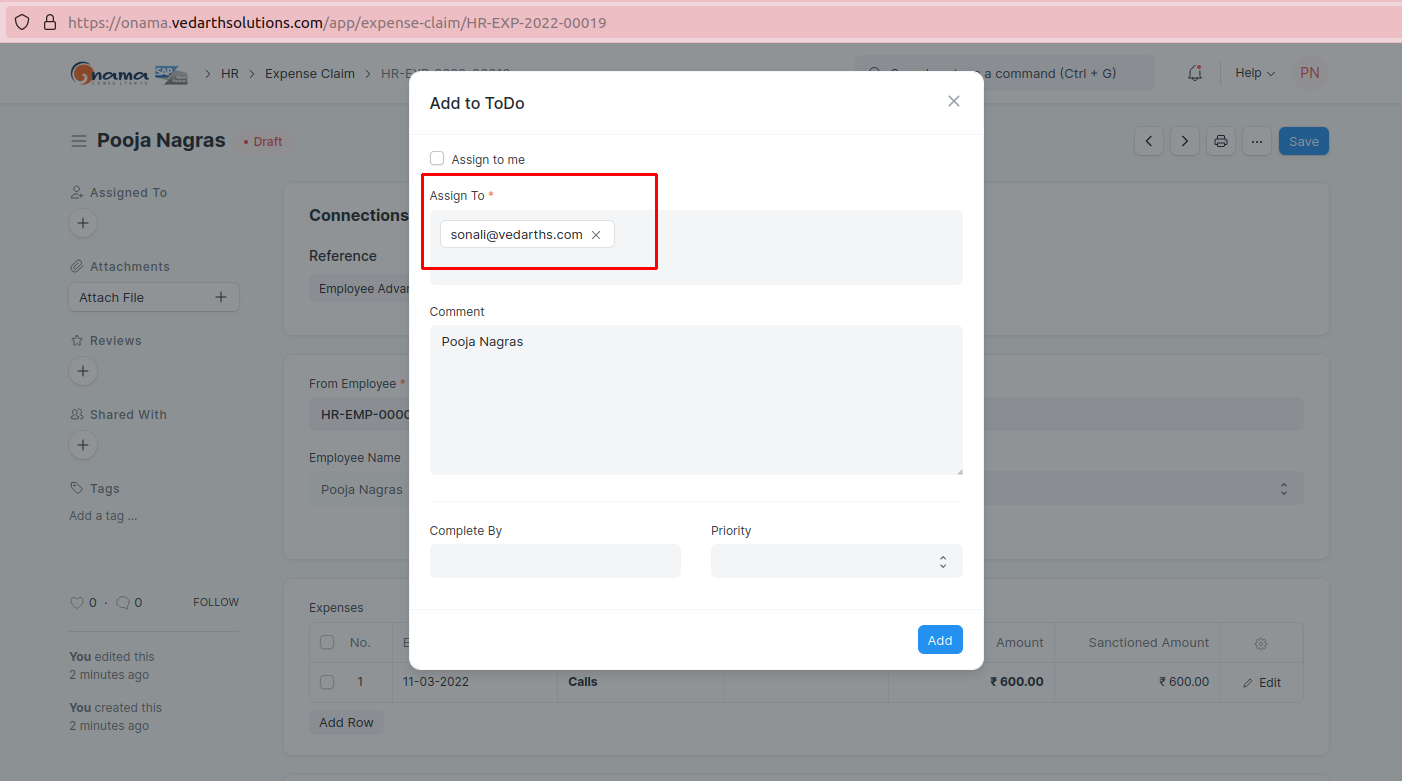
You can add Comments for "Expense Claims" and Click on "Add" Button.
Now Email will be triggered to Claim approver.
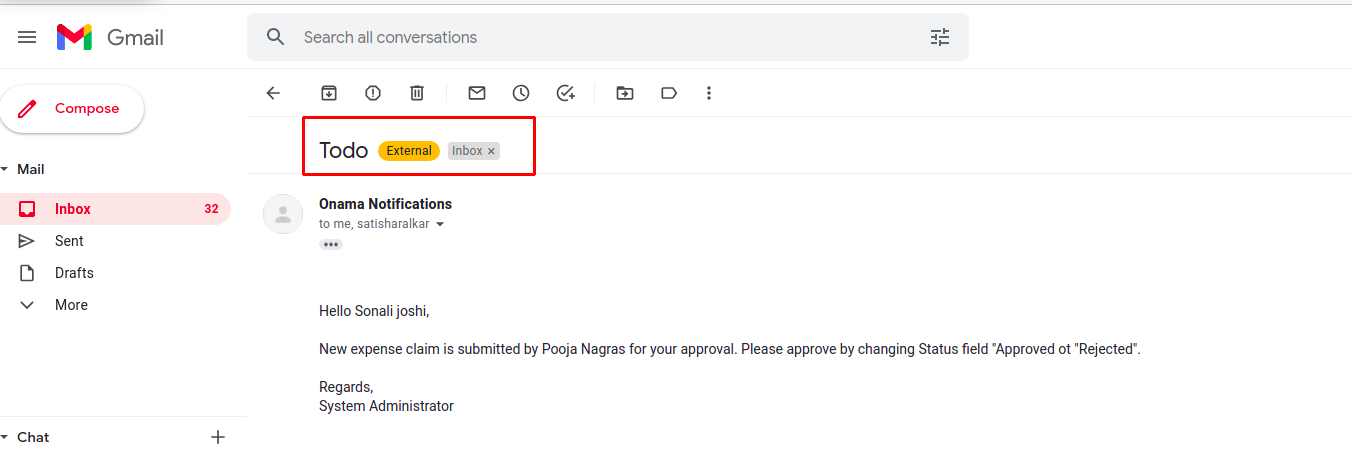
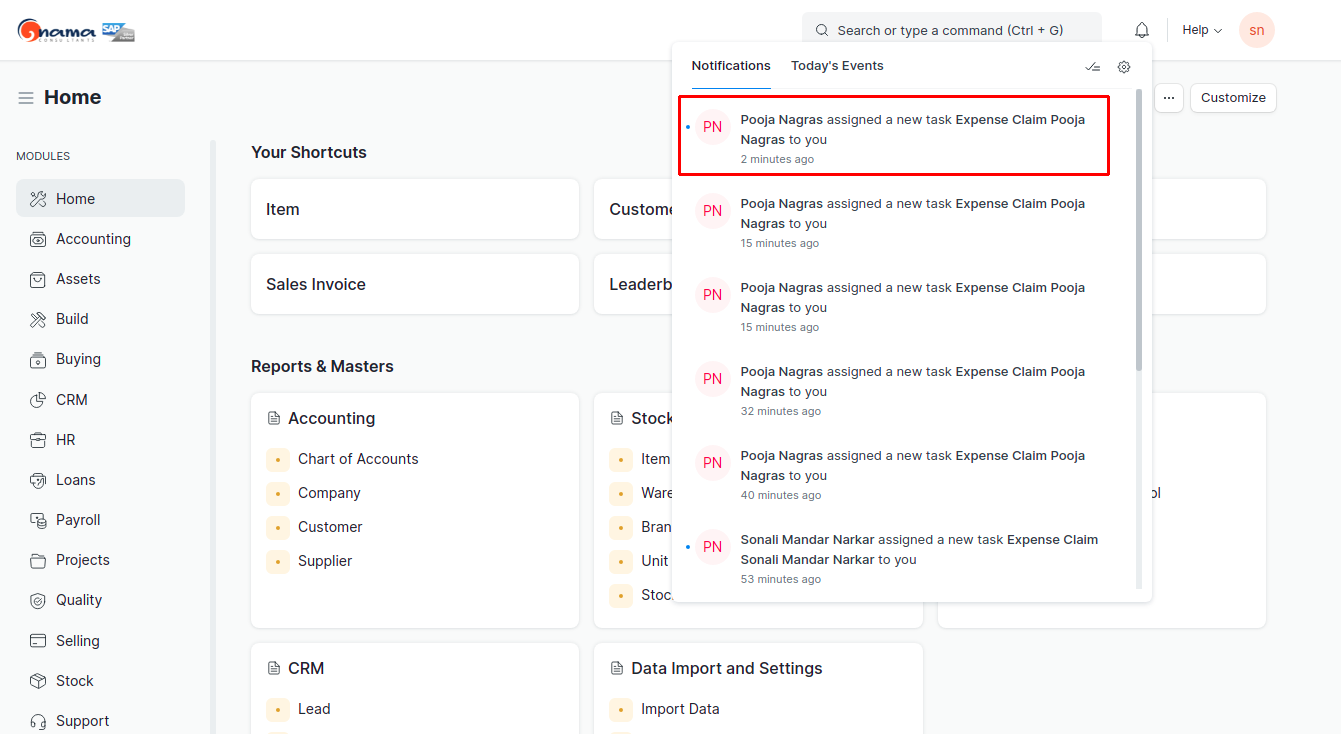
In ERP system approver will get notification. From notification, claim approver can go to claim and approve it. Expense Claim Approver can also update the “Sanctioned Amounts” against Claimed Amount of an Employee.
If Approved, then Expense Claim gets submitted.
If rejected, then Expense Approver can add comments in the Comments section explaining why the claim is rejected.
Expense claim approver can see pending claims in Draft status.
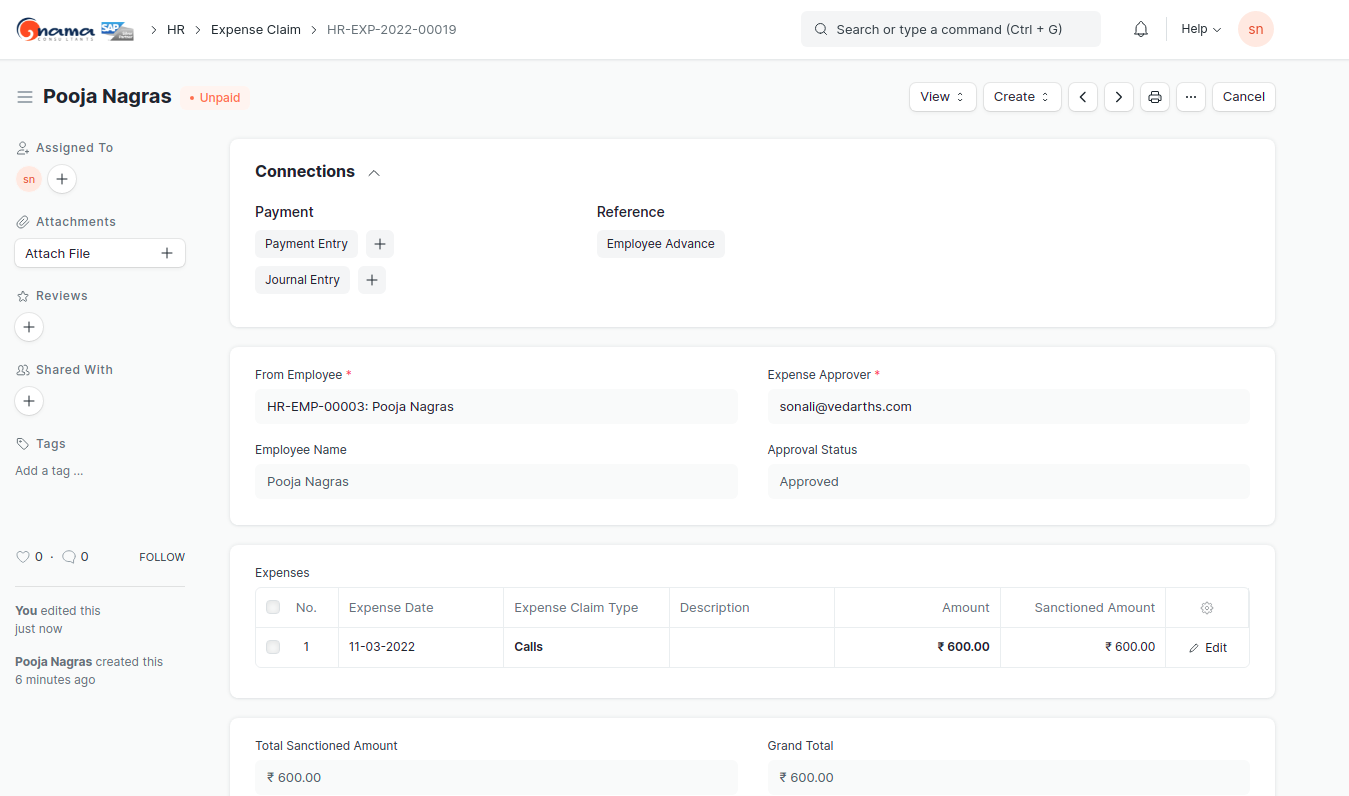
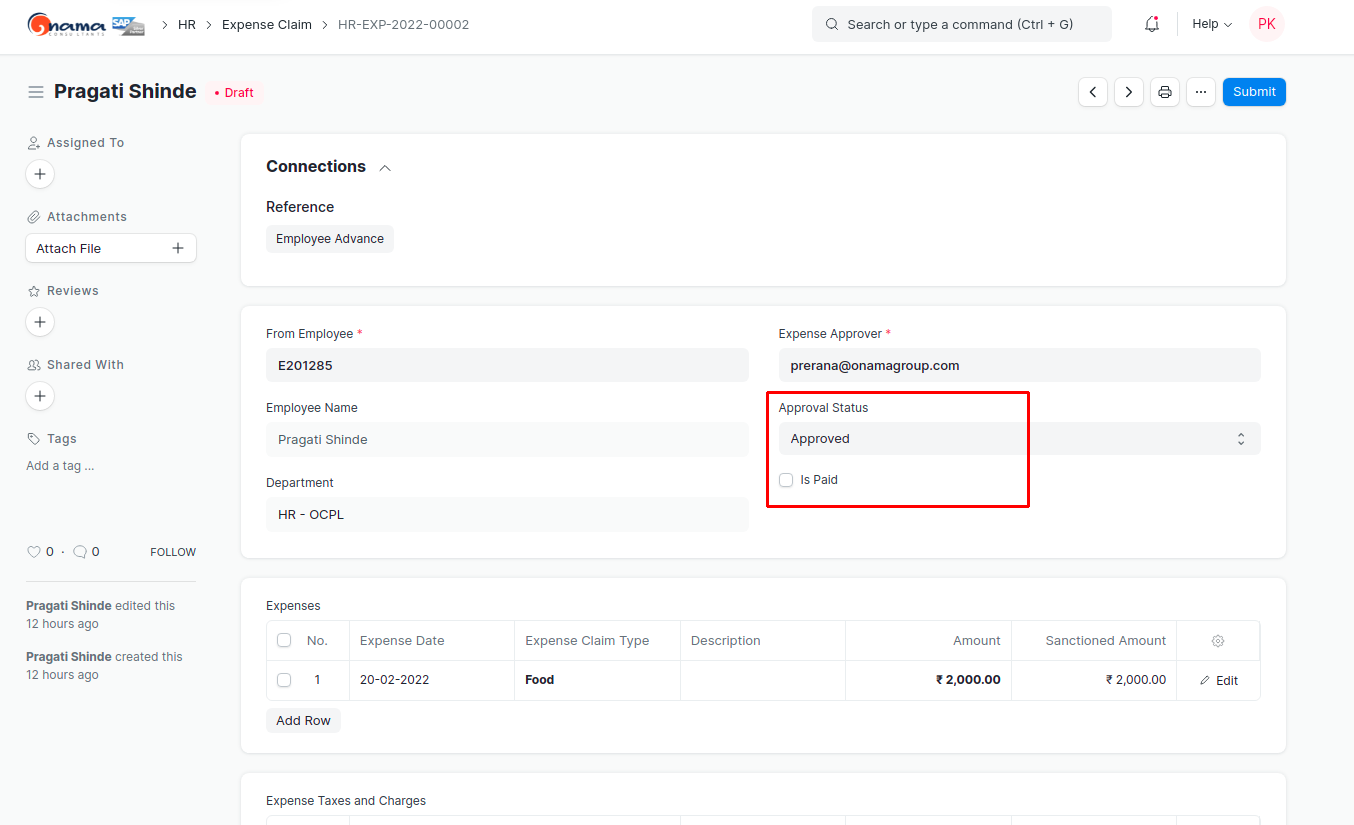
Approver will check expense claim of employee and will change "Approval Status" to "Rejected" or "Approved"
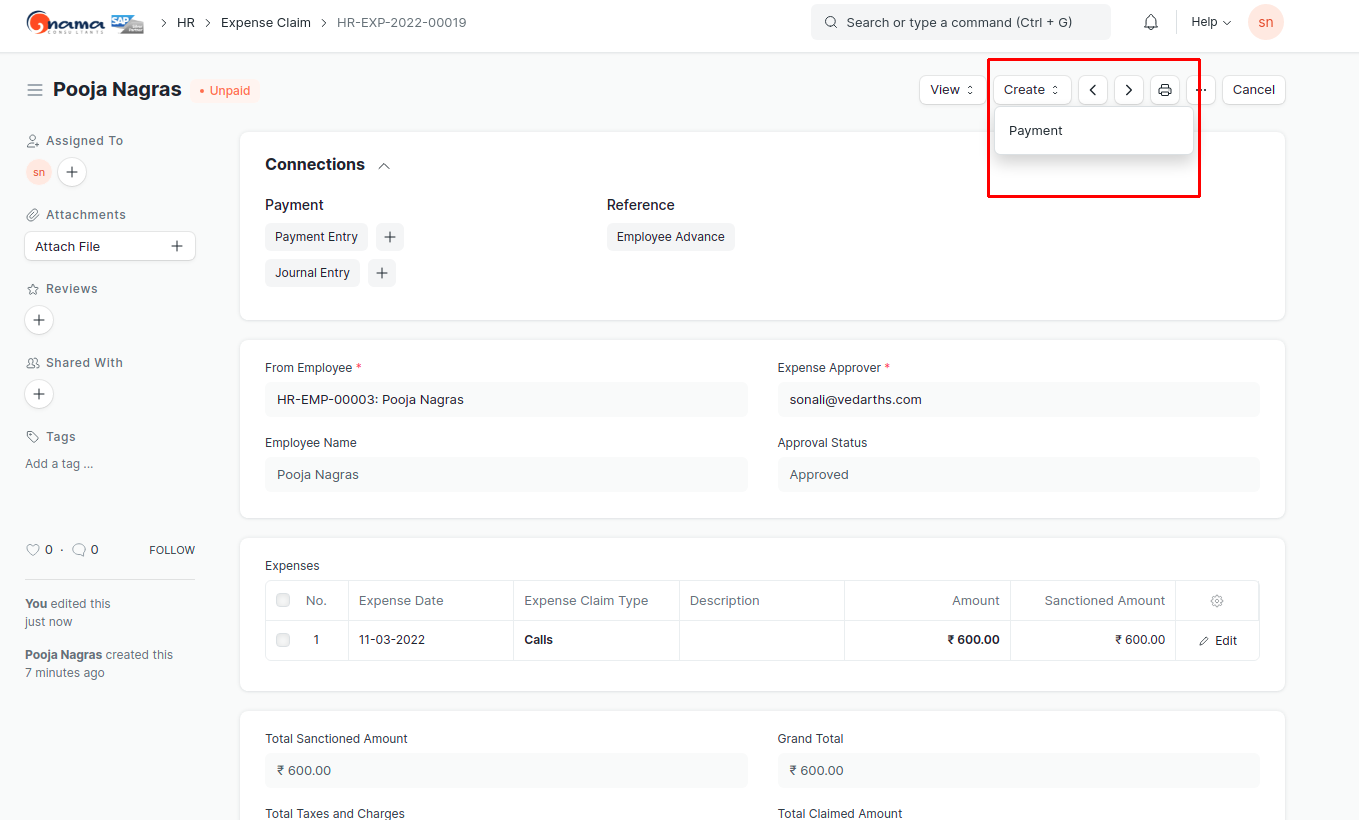
Submitted claim is to be Paid. Account department will go to claim list and select claims with "Submitted" status.
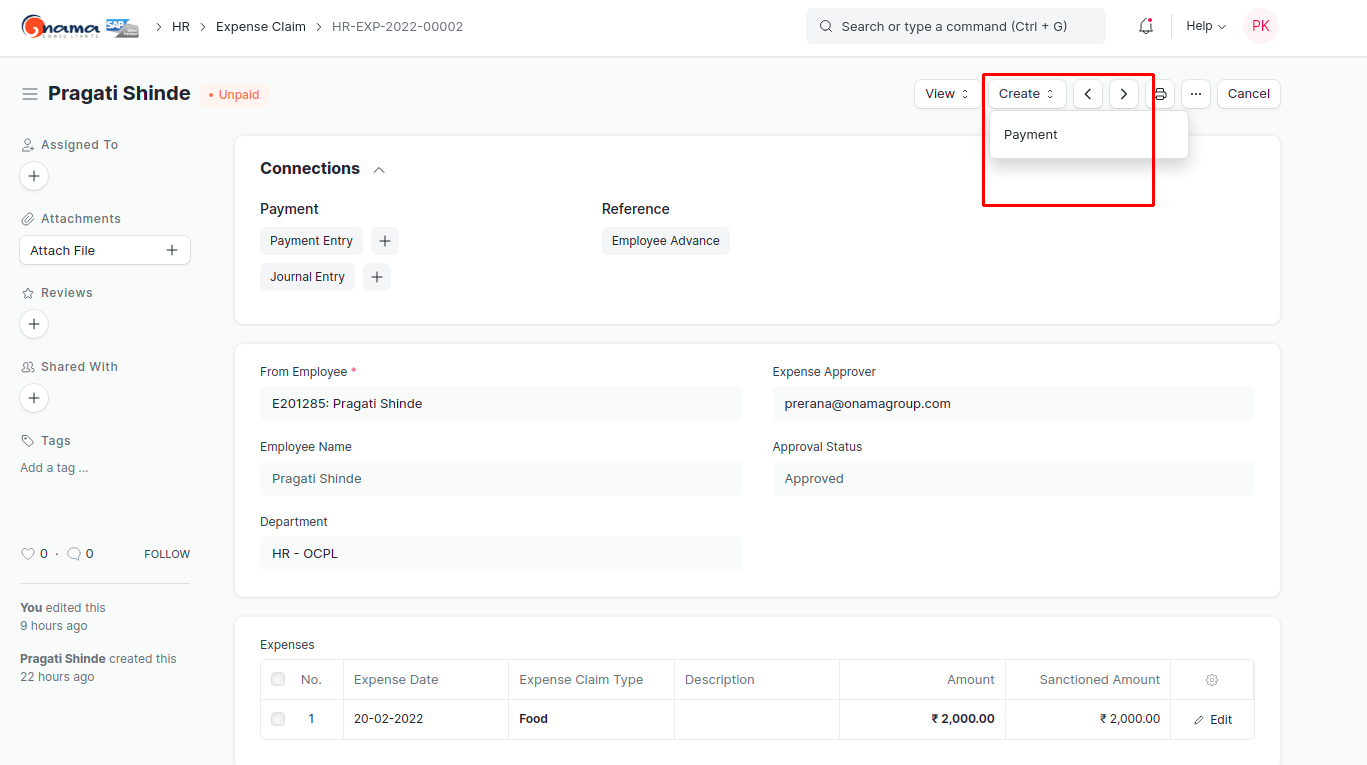
Then Approver click on "Create" new payment entry.
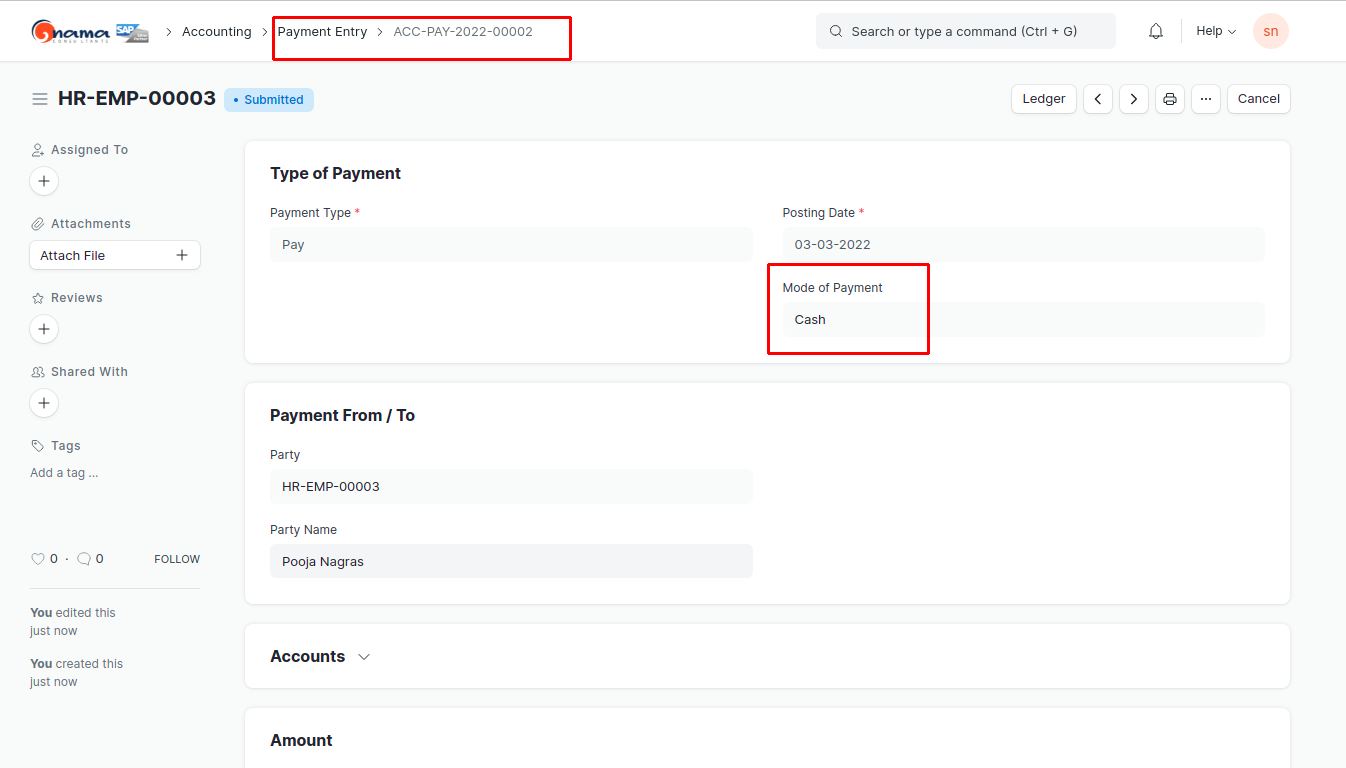
Account Team will make "Payment Entry" as below.
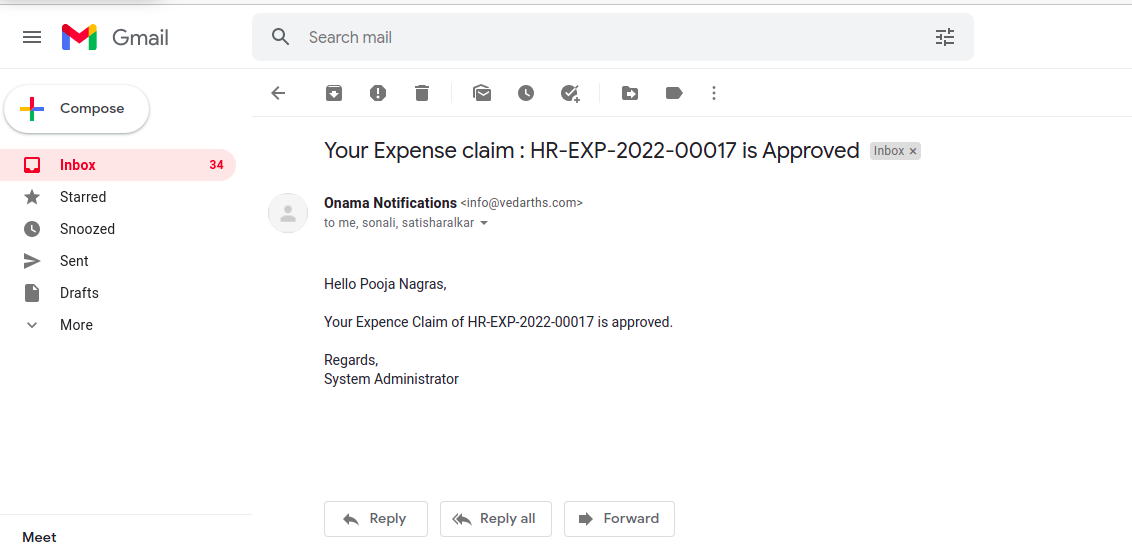
Email notification will be sent to Employee for notifying that Claim is approved If Approved.
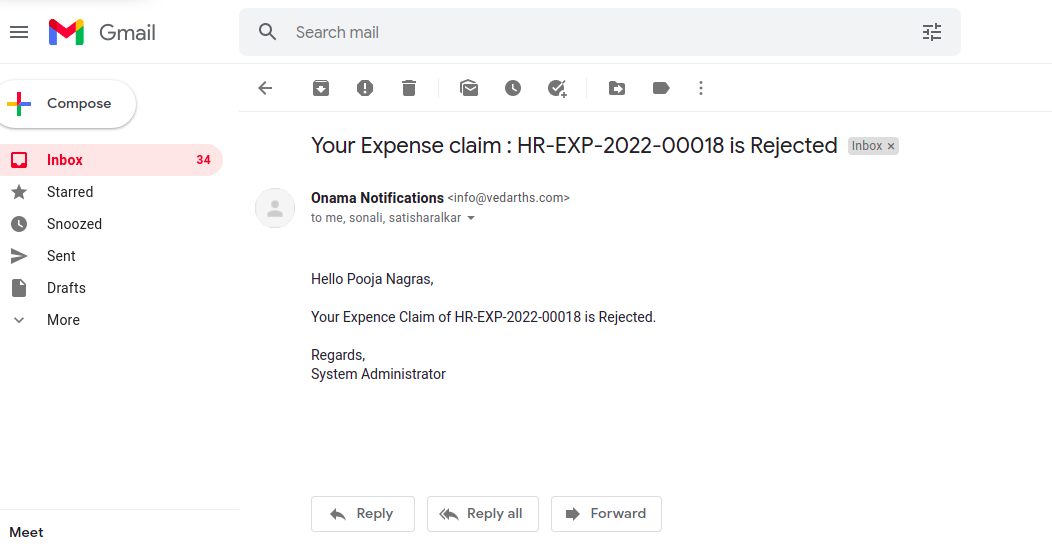
Email notification will be sent to Employee for notifying that Claim is rejected If Rejected.
***End Of Document***
More articles on ERP Documentation